Are you looking to make custom vinyl stickers for your business? Vinyl stickers can be used for a variety of purposes such as labeling products, branding a space, or simply decorating an item. But the process of creating custom vinyl stickers can be confusing if you don’t know where to start. Read on to learn how to create unique custom stickers with just five easy steps!
Introduction to Custom Vinyl Stickers
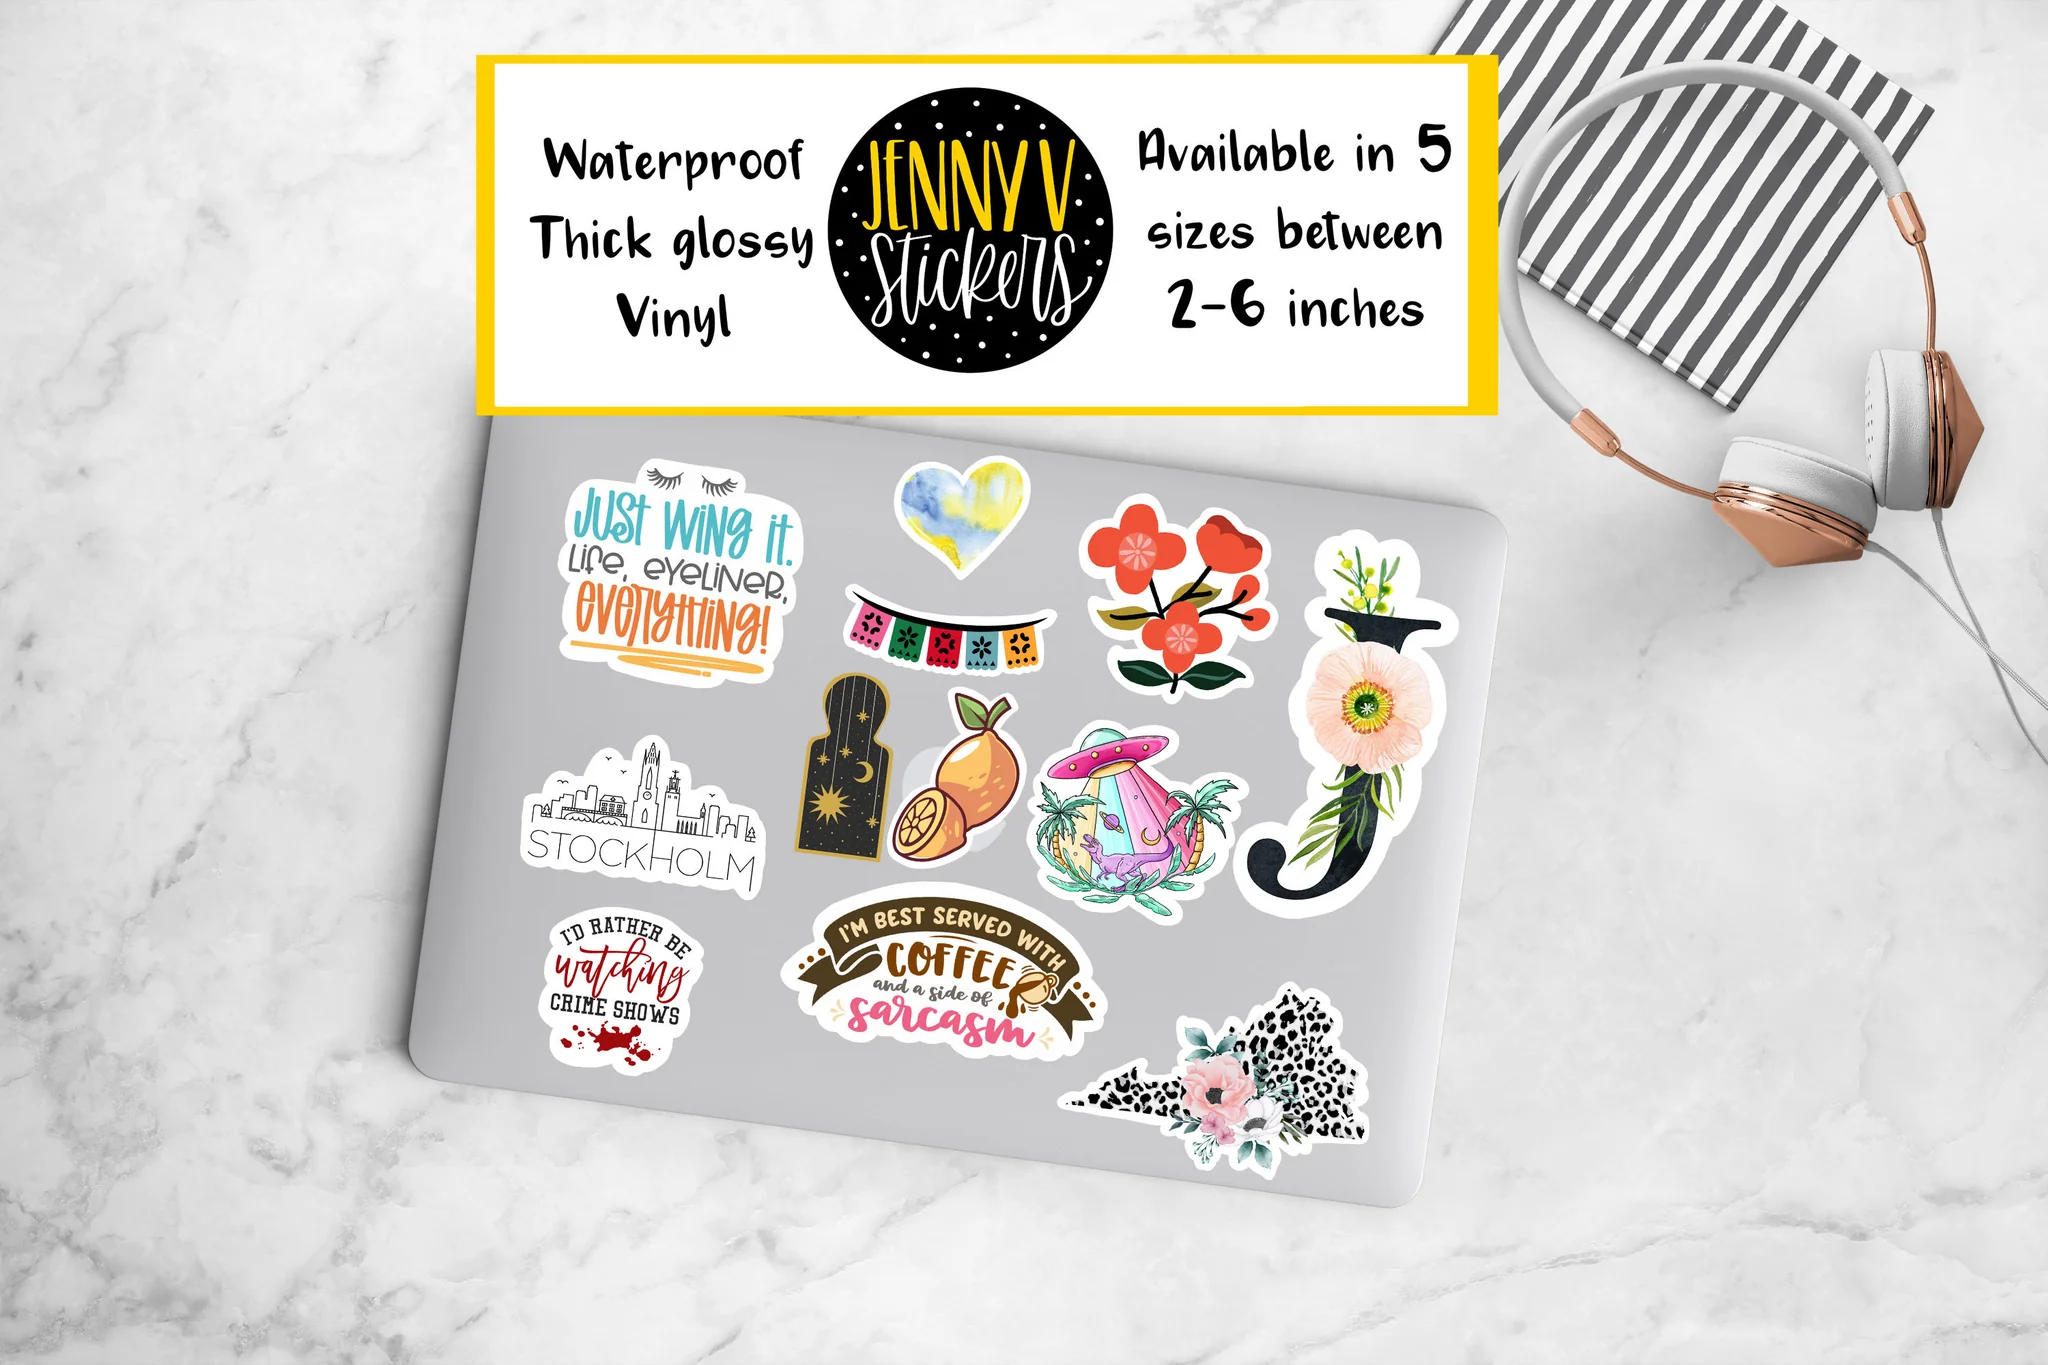
Vinyl stickers are a versatile and cost-effective way to promote your brand or product. They can be used for indoor or outdoor applications, and can be customized to any size, shape, or color you need.
Creating custom vinyl stickers is easy with these simple steps:
- Choose your vinyl material. There are a variety of vinyl materials available on the market, each with its own advantages. For example, if you need a durable sticker that will withstand weathering, choose an outdoor-grade vinyl. If you need a sticker that can be removed without damaging the surface it is applied to, choose an removable vinyl.
- Choose your printing method. Vinyl stickers can be printed using a variety of methods, including screen printing, digital printing, and lithography. Each printing method has its own advantages and disadvantages, so be sure to choose the one that best suits your needs.
- Design your sticker. Once you’ve chosen your vinyl material and printing method, it’s time to design your sticker! Keep in mind that the design should be simple and eye-catching; too much detail will make it difficult to read from a distance. Use high-quality images and graphics, and avoid using more than three colors in your design.
- Cut out your sticker design. Once your design is complete, it’s time to cut out the individual stickers using a cutting machine such as a Cricut or Silhouette Cameo.
What You Need for Creating Custom Vinyl Stickers
If you want to create your own custom vinyl stickers, there are a few things you’ll need. First, you’ll need some vinyl sticker paper. You can find this at most office supply or craft stores. Once you have your paper, you’ll need a printer that can print on vinyl. Not all printers can do this, so be sure to check before you buy one. Finally, you’ll need a cutting tool to cut out your design. A simple pair of scissors will work, but a craft knife or cutting machine will give you cleaner edges.
Now that you have all the supplies you need, it’s time to get started! First, decide what design you want to use for your sticker. You can either create your own design or find one online. Once you have your design, print it out on the vinyl sticker paper using your printer. Cut out your design with your scissors or cutting tool, and then peel off the backing to reveal your new custom vinyl sticker!
Step-by-Step Guide to Making Custom Vinyl Stickers
Assuming you have a design ready to go, the process for creating custom vinyl stickers is actually pretty simple. Here’s a quick step-by-step guide:
- Choose your vinyl sticker material. There are a few different types of vinyl to choose from, each with its own advantages and disadvantages. For example, permanent vinyl is great for durability, but it can be tricky to remove later on if you change your mind. Removable vinyl is less durable but much easier to take off without damaging the surface underneath.
- Cut out your design. Once you’ve chosen your vinyl, use a sharp knife or scissors to carefully cut out your design. If you’re not confident in your cutting skills, there are die-cutting machines that can do this for you (although they can be pricey).
- Weeding. This step is optional but recommended, especially if your design has small details or negative space. To weed, simply use a tool to remove any unwanted pieces of vinyl from your design – this will make the final product look neater and more professional.
- Apply transfer tape. Cut a piece of transfer tape slightly larger than your design, then peel off the backing and stick it on top of the vinyl (sticky side down). Use a credit card or other flat object to smooth out any bubbles or wrinkles.
- Peel off the backing paper. Carefully peel away the backing paper from your design.
Tips and Tricks for Designing Custom Vinyl Stickers
Designing custom vinyl stickers can be a fun and easy process if you follow a few simple tips and tricks. Here are a few things to keep in mind when designing your own stickers:
- Use high-quality images: Stickers are all about the visuals, so make sure to use high-resolution images that will look great when printed.
- Keep it simple: Don’t try to cram too much information onto your sticker – less is more!
- Be creative: Have fun with your design and let your creativity shine through.
- Use color wisely: Use colors that complement each other and avoid using too many colors, which can be overwhelming.
- Consider the size: Make sure to consider the size of your sticker when designing it – you don’t want it to be too small or too large.
- Test it out: Before you print your stickers, test them out on paper first to make sure they look exactly how you want them to.
Finishing Touches for Your Custom Vinyl Sticker Creation
Now that you have your vinyl stickers all designed and ready to go, it’s time to add the finishing touches! Here are a few things to keep in mind when creating your custom vinyl stickers:
– Make sure the colors are bold and vibrant. You want your stickers to stand out, so don’t be afraid to use bright colors.
– Keep the design simple. Too much clutter will make your stickers look busy and can be confusing for people trying to read them.
– Stick to one or two fonts. Using multiple fonts can also make your stickers look busy and difficult to read.
– Use high-quality images. Blurry or pixelated images will decrease the overall quality of your sticker.
following these simple tips, you’ll create beautiful, eye-catching custom vinyl stickers that are sure to get noticed!
Conclusion
Creating custom vinyl stickers is a great way to add personality and character to any item you own. With these five simple steps, you can easily create your own unique designs that will last for years to come. We hope this guide has inspired you to get creative with your designs and make some awesome custom vinyl stickers of your own! Have fun experimenting with different shapes, sizes, and colors – the possibilities are truly endless!