
Creating a 3D model is about detailed design, patience, and creativity.
But what if you have to do it quickly?
I had to create a superhero 3D model in only two days, not the usual weeks or months. This blog post is about my exciting two-day experience. I’ll share how I went from the first idea to the final model and give advice to others interested in 3D modeling.
Planning and Conceptualization
Alright, let’s get down to business! The first hurdle was choosing the right superhero.
I wanted a character that struck the perfect balance between being recognizable and not overly complex for modeling.
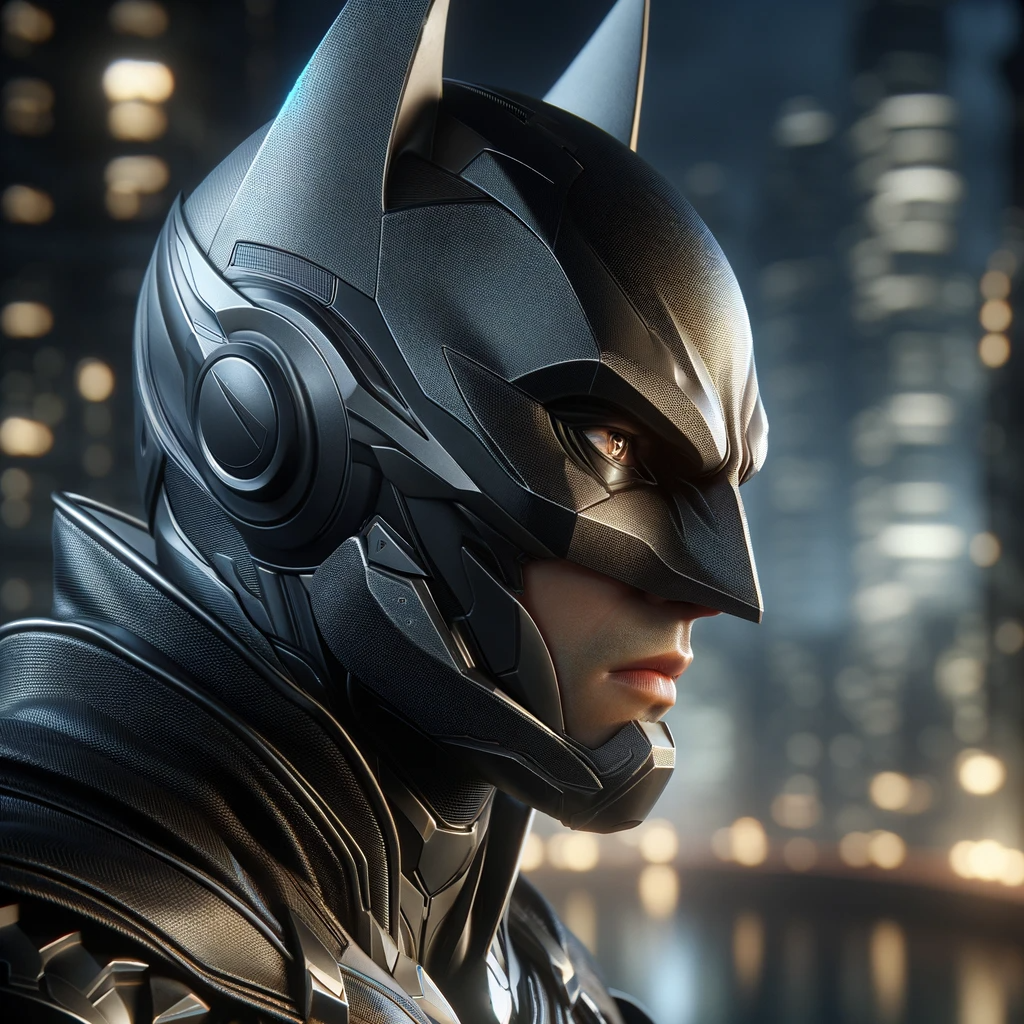
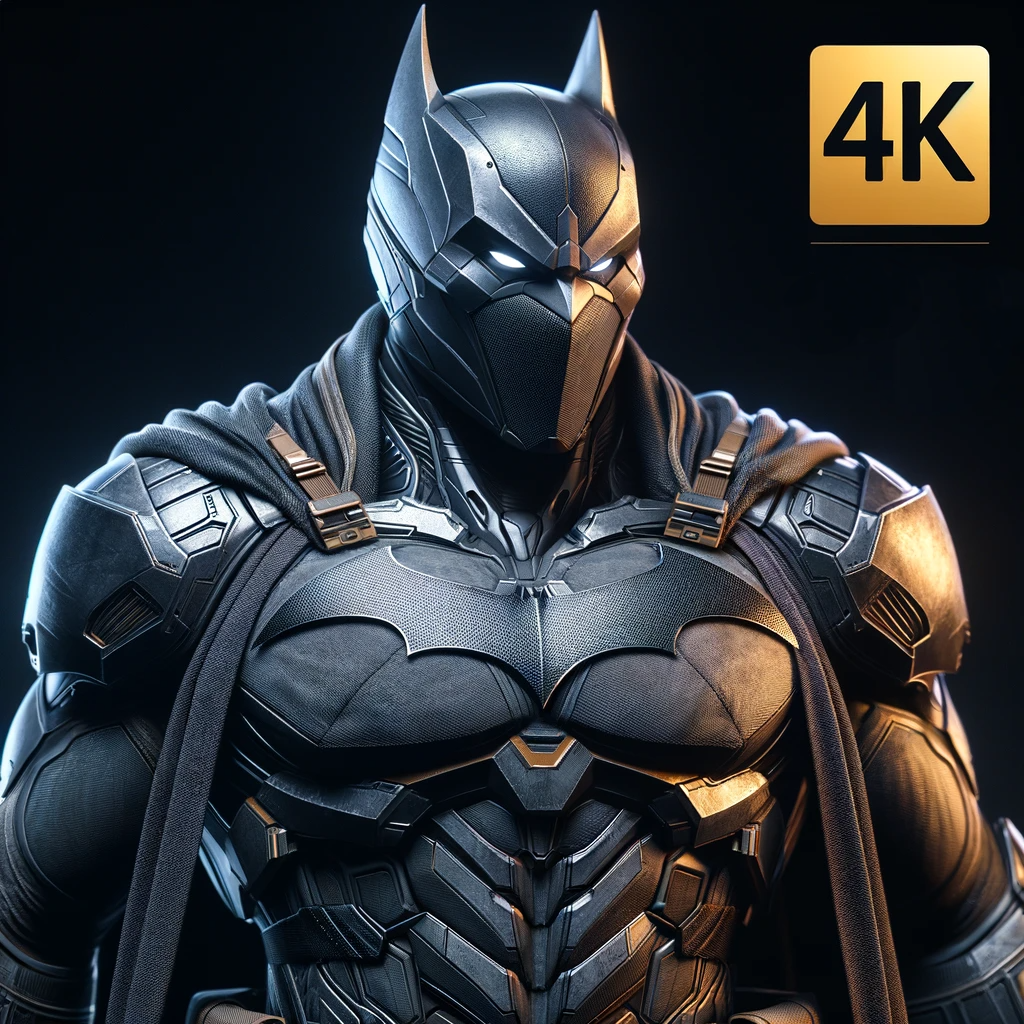
After some thought, I decided on a classic – think along the lines of a caped crusader known for his incredible agility and iconic costume. A superhero who could inspire both awe and a sense of relatability in his stance and expression.
*fan art that I created especially for him. (WHERE’S THE DETONATOR?)
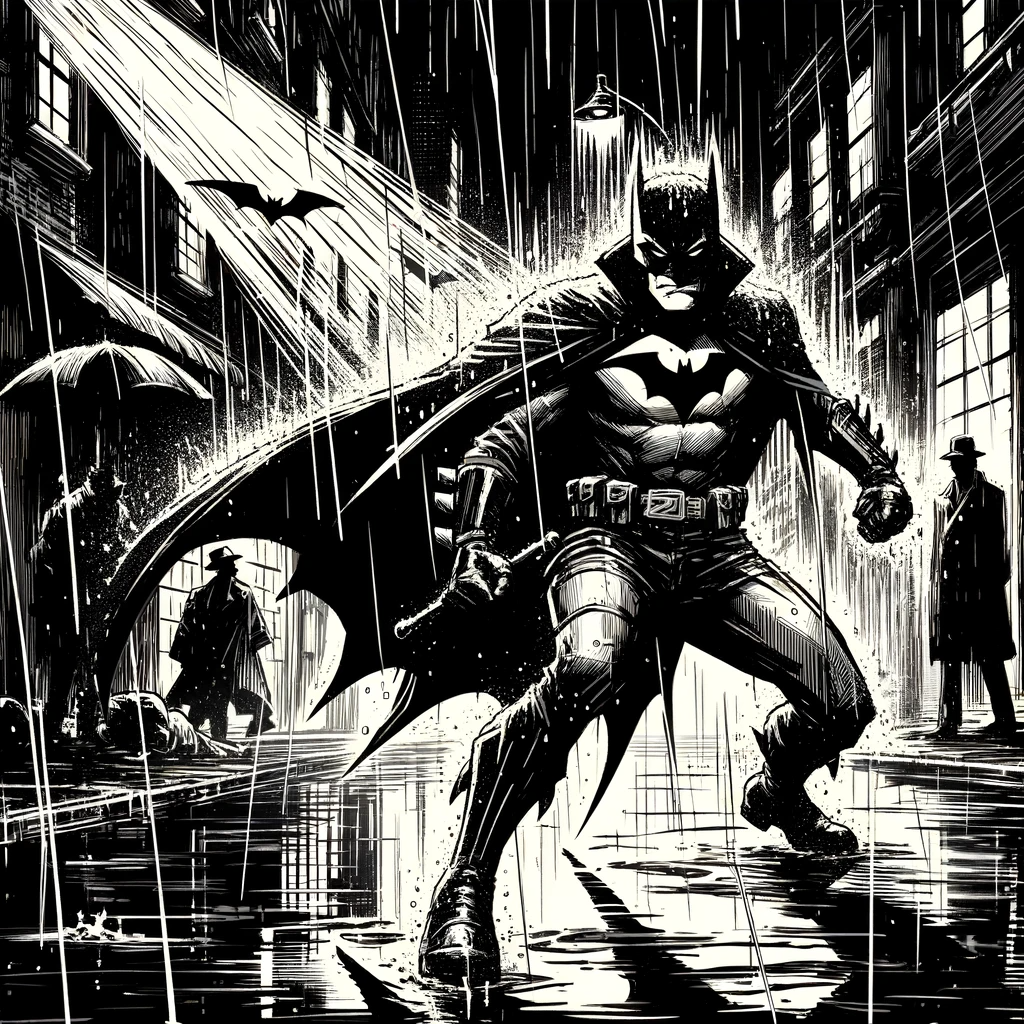
With the hero picked, it was time for the crucial step: sketching. This is where the journey ‘from sketch to screen’ truly begins. Armed with my digital tablet, I started to bring my vision to life.
But this wasn’t just about creating a cool model sketch. I had to think ahead about the rigging process, especially since I aimed to create Blender-rigged models suitable for game development.
The sketch needed to consider how the model would move, focusing on joint articulation and potential rigging points. After all, a superhero’s dynamic pose is a game-changer in the 3D world.
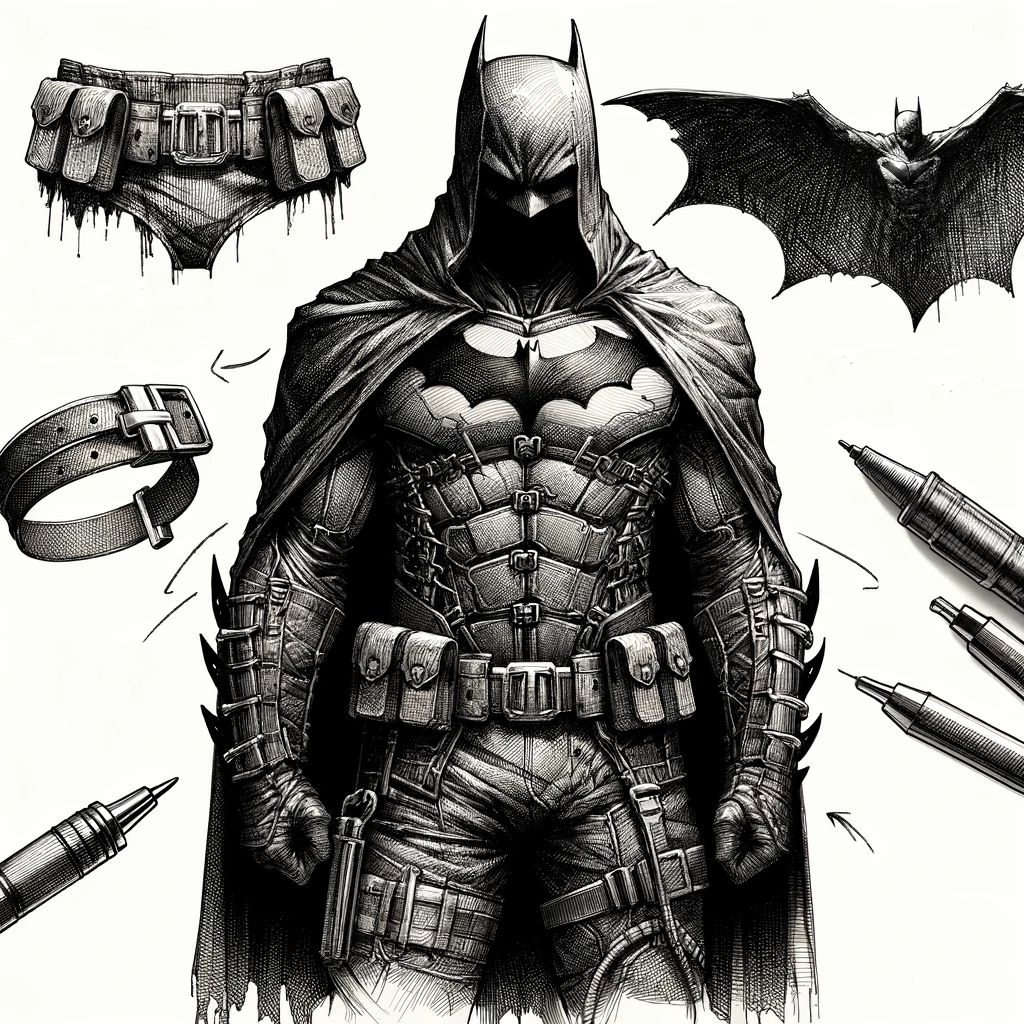
I broke down the sketch into different components: the muscular base form, intricate costume details, the expressive face, and, naturally, the superhero’s signature hair – it had to have that dramatic, wind-swept look!
With my detailed model sketch as a guide, I was pumped to dive into modeling software.
The transformation from a flat sketch to a fully rigged 3D model was about to unfold, and I was all set to take on this exciting challenge, fueled by enthusiasm and a good amount of caffeine.
Software and Tools Selection
Choosing the right tools can make or break a project, especially when you’re racing against time. For my superhero model, I knew I needed software that was versatile, user-friendly, and capable of handling detailed rigged models.
My go-to choice? Blender.
Why Blender, you ask? Well, it’s free, incredibly powerful, and has a massive community for support and resources – a triple win in my book!
But Blender wasn’t the only tool in my arsenal. Texturing and detailing would require something more.
Enter Substance Painter – a real game-changer for adding lifelike textures and colors. Its ability to paint directly onto 3D models is like magic, turning a bland surface into something that pops.
For the initial sketch, I used a digital tablet, which is a staple for any modeler looking to translate ideas ‘from sketch to screen’. The precision and ease of drawing it offers are unmatched. Sketching the superhero on a tablet first helped me visualize the final model and plan the rigging process more effectively.
And let’s not forget about the hardware. A decent graphics card and a processor capable of handling 3D rendering are non-negotiable. My setup included a high-end GPU and a multi-core processor, ensuring that Blender and Substance Painter ran smoothly, without frustrating lags or crashes.
With Blender for modeling and rigging, Substance Painter for texturing, and a solid hardware setup, I felt equipped to tackle the daunting task of creating a detailed 3D superhero model in just two days. The countdown was on, and it was time to get modeling!
Day 1: Creating the Base Model
The first day was all about laying the groundwork – literally. My goal was to create the base model of our caped superhero, focusing on proportions, basic shapes, and overall stance. This stage is crucial because it sets the tone for the entire model.
Starting with Basic Shapes
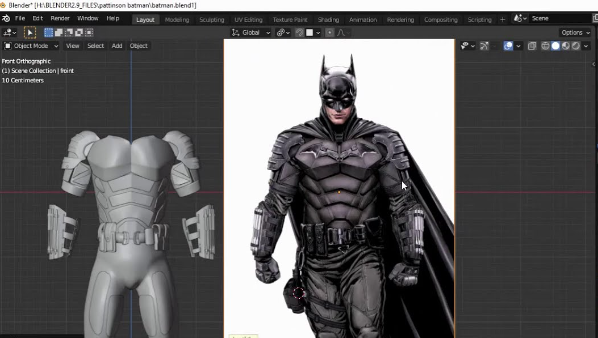
I kicked off in Blender by blocking out the basic shapes. Using simple geometric forms like cylinders and cubes, I started shaping the torso, limbs, and head. This approach might seem rudimentary, but it’s incredibly effective for establishing proportions and the overall flow of the model. It’s like the skeleton of your 3D creation.
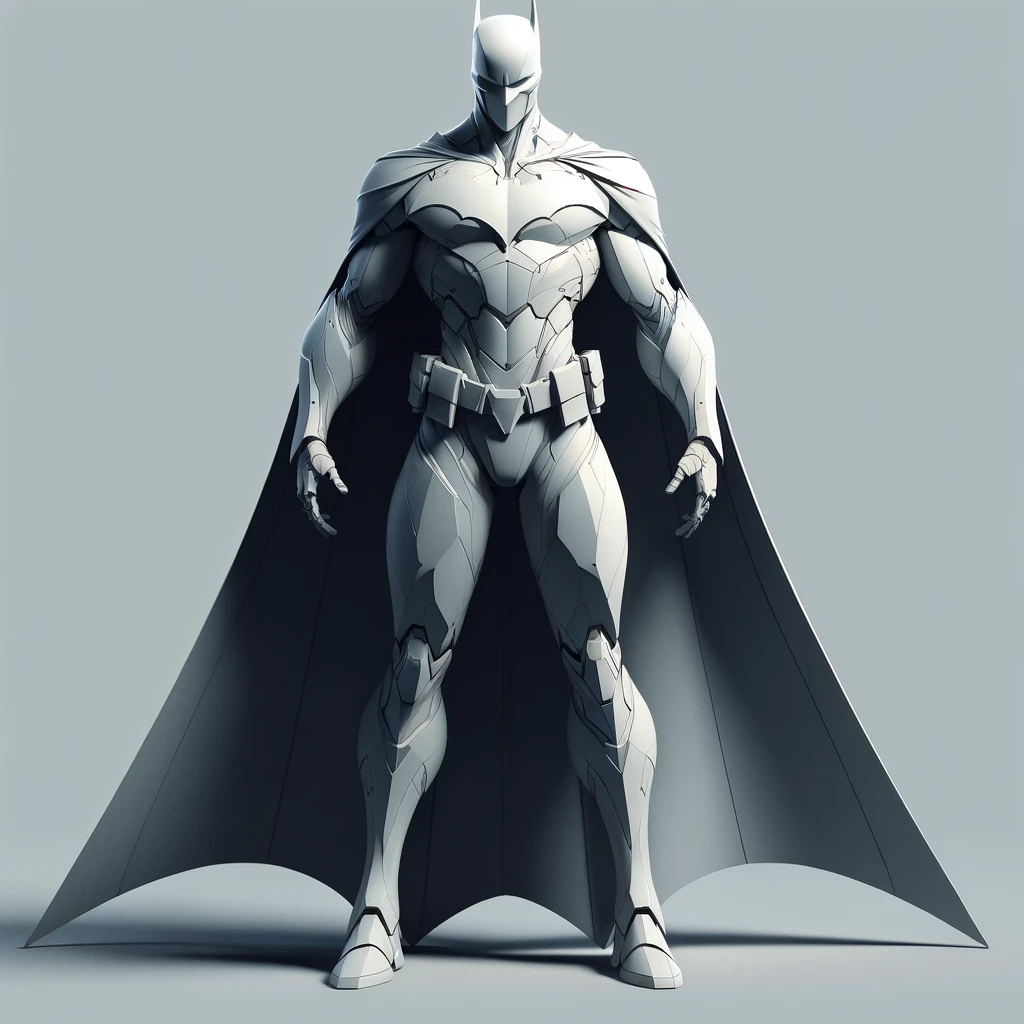
Refining the Silhouette
Once the basic shapes were in place, it was time to refine. This meant tweaking the silhouette to match my initial model sketch, ensuring that the iconic posture and muscular build were on point.
I paid special attention to the superhero’s dynamic pose – a blend of readiness and elegance, a signature of his agility and strength.
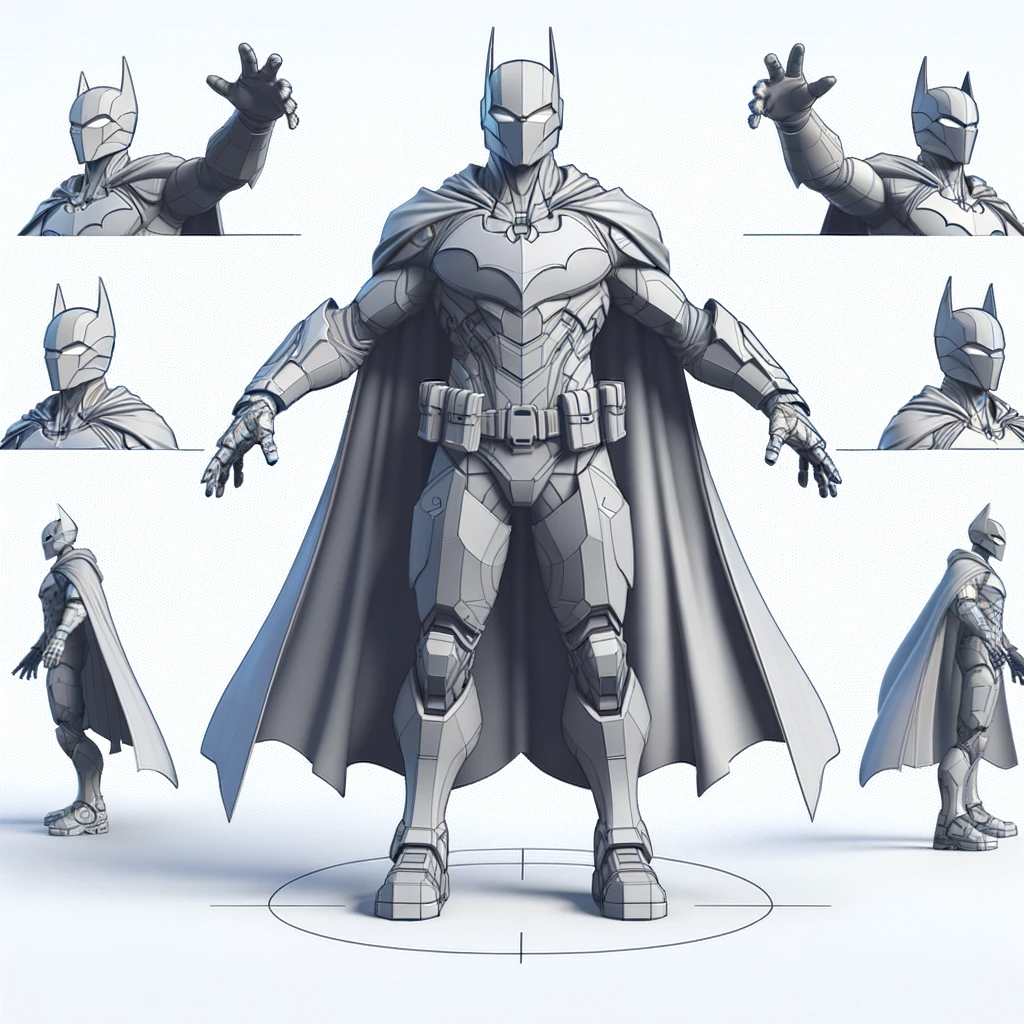
Adding Musculature
With the silhouette set, I moved on to defining the musculature. This was a balancing act – adding enough detail to make the model look powerful, yet not so much that it became unrealistic or overly complex.
I used Blender’s sculpting tools to carve out muscles, paying close attention to anatomical accuracy. A well-defined chest, strong arms, and a robust back were key to bringing out the heroic essence.
Adjusting for Rigging
Throughout this process, I had to keep in mind that this model would eventually be rigged. This meant ensuring that joints like elbows and knees had the right form and space to bend realistically. I constantly checked the model from various angles, making sure that it wouldn’t just look good but would also move believably once rigged.
By the end of day one, the base model stood there in Blender – a digital clay statue, ready to be detailed and brought to life. It was a satisfying moment, but I knew the second day would bring its own set of challenges: adding details, texturing, and preparing the model for rigging.
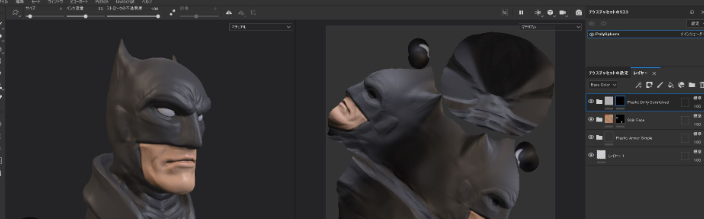
Day 2: Detailing and Texturing
Day two dawned with the promise of transformation. The base model was ready, and it was time to shift gears from broad strokes to the fine details that would breathe life into our superhero.
Bringing in the Details
The day kicked off with detailing. I zoomed into each section of the model, sculpting the finer aspects like the facial features, the texture of the suit, and the iconic accessories. Each element required a blend of artistic touch and technical skill.
For example, the superhero’s mask needed to look sleek yet functional, with just the right amount of texture to suggest material strength without overt realism.
I got inspiration from other artist and game studios, for example, I checked this game art portfolio.
Costume and Accessories
A superhero’s costume is their identity. I spent a considerable chunk of the day modeling the costume details. This included everything from the belt and boots to the emblem that proudly sat on the chest.
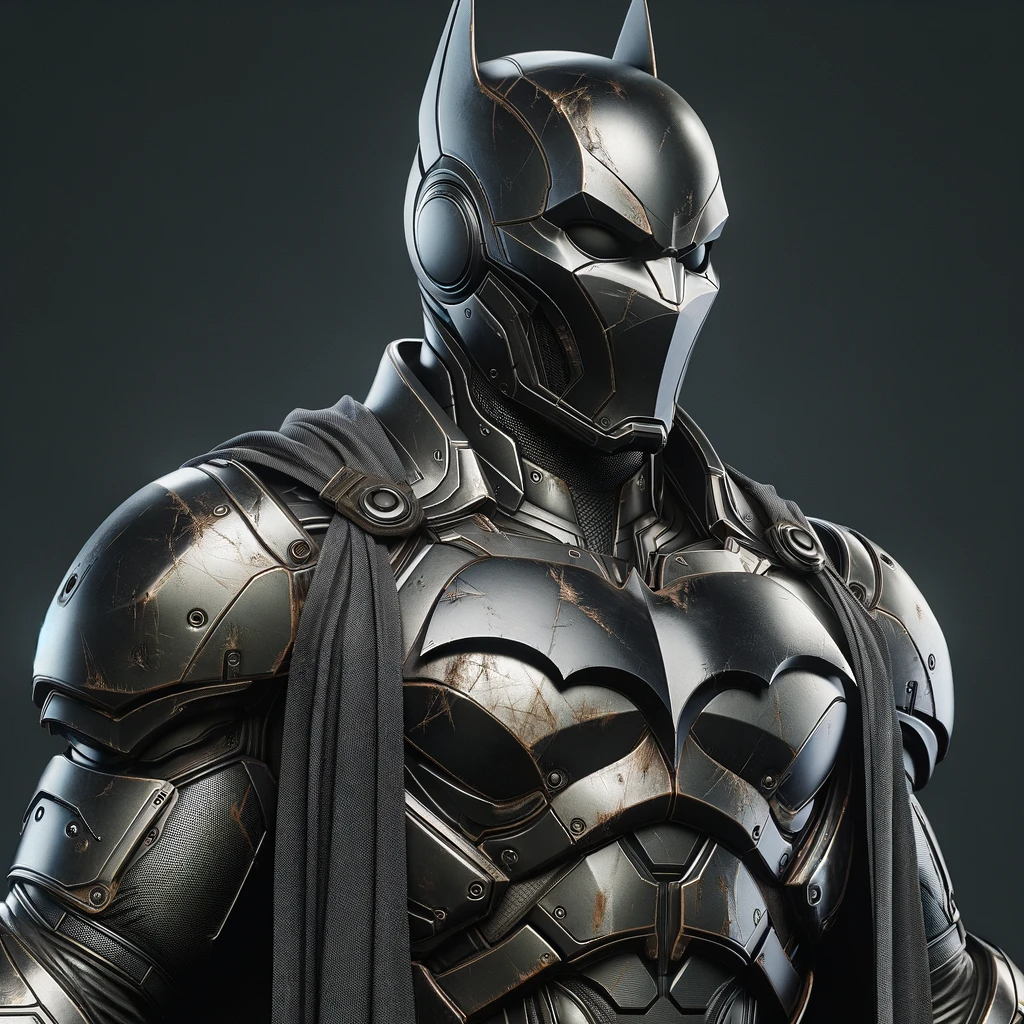
Substance Painter played a crucial role here, allowing me to apply textures that brought the costume to life. I chose materials that reflected light realistically, giving the impression of different textures like metal for the belt buckle and a matte finish for the suit.
Texturing and Colors
Texturing was where Substance Painter truly shined. I applied base colors first, ensuring they matched the classic palette associated with the character.
Then, I added layers of textures to simulate fabric weaves and wear-and-tear, giving the model an experienced look fitting of a superhero. The goal was to achieve a balance between vibrancy and realism, making the character pop on screen while retaining a believable appearance.
Rendering
With the modeling, detailing, and texturing behind us, it was time to bring our superhero to the stage where he truly shines: rendering and adding those crucial final touches that elevate the model from great to extraordinary.
Setting Up the Scene
The first step in rendering was to set up the scene.
This involved choosing the right background and lighting that would complement the superhero’s features and colors. Lighting plays a pivotal role in 3D rendering; it can enhance textures, highlight details, and create the desired atmosphere. I opted for a three-point lighting setup, which provided depth and dimensionality, casting subtle shadows that accentuated the muscular definition and the intricate details of the costume.
Camera Angles
Choosing the right camera angle was equally important. It needed to capture the essence of the superhero, portraying power and presence. I experimented with various angles, eventually settling on a slightly low angle shot that looked up at the superhero, imbuing the scene with a sense of awe and respect. This angle also allowed the details of the costume and the facial expression to be in full view, showcasing the work put into texturing and modeling.
Final Render Settings
In Blender, the final render settings were crucial for achieving high-quality results. I adjusted the samples for optimal clarity and tweaked the resolution to ensure the model looked sharp and detailed. The rendering process itself took time, a period filled with anticipation as the image slowly came together, revealing the culmination of two days’ intense work.
Post-Processing
Once rendered, a bit of post-processing added the finishing touches. Using image editing software, I enhanced the contrast, adjusted the color balance, and added a slight vignette to focus attention on the superhero. These subtle edits made the image pop, giving it a polished, professional look.
Reflection
As I looked at the final rendered image, it was a moment of true satisfaction and reflection. The journey from a simple sketch to a fully rendered 3D model of a superhero in just two days was nothing short of a whirlwind.
As I reflect on the whirlwind journey of creating a 3D model of a superhero in just two days, a few key lessons and practical tips stand out. This endeavor was not just a test of skill and speed but a profound learning experience that pushed the boundaries of what I thought was possible.
Embrace Planning and Sketching
One of the biggest takeaways is the importance of thorough planning and detailed sketching before diving into the digital modeling process. A clear vision and a detailed sketch can significantly streamline the modeling phase, allowing you to focus on execution rather than decision-making on the fly.
Choose Your Tools Wisely
The choice of software and tools can make a huge difference. Blender and Substance Painter proved to be indispensable assets, offering flexibility, power, and efficiency. Familiarize yourself with your tools; knowing their strengths and shortcuts can save precious time.
Focus on the Big Picture, Then Zoom In
Start with broad strokes—get the shape and proportions right before getting bogged down in details. It’s easy to lose hours perfecting an area that might need to be adjusted later. Keep the overall model in mind, and remember, you’re sculpting a character, not just a collection of parts.
Anticipate Rigging Challenges
Designing with rigging in mind can prevent many headaches. Consider how your model will move and ensure that joints and muscles are positioned and modeled in a way that supports realistic animation. This foresight can dramatically reduce the need for revisions.
Efficient Use of Time
Given the tight timeframe, being efficient with your time is crucial. Set specific goals for each block of time and take short, scheduled breaks to keep your mind fresh. Sometimes, stepping away for a moment can provide new insights or solutions to problems you’re facing.
Rendering Is Where Magic Happens
Don’t underestimate the power of lighting, camera angles, and post-processing. These elements can transform a good model into an extraordinary one. Experiment with different settings to find what best highlights your model’s strengths.
Final Thoughts
Creating a 3D superhero model in just two days is an intense yet rewarding challenge. It teaches you not just about 3D modeling, but about your own resilience, creativity, and ability to push through obstacles. To those embarking on similar projects, remember: patience, planning, and persistence are your best tools. Embrace the process, learn from each step, and most importantly, have fun bringing your visions to life.